
5 Failsafe Ways to Repair Water Damaged Ceilings
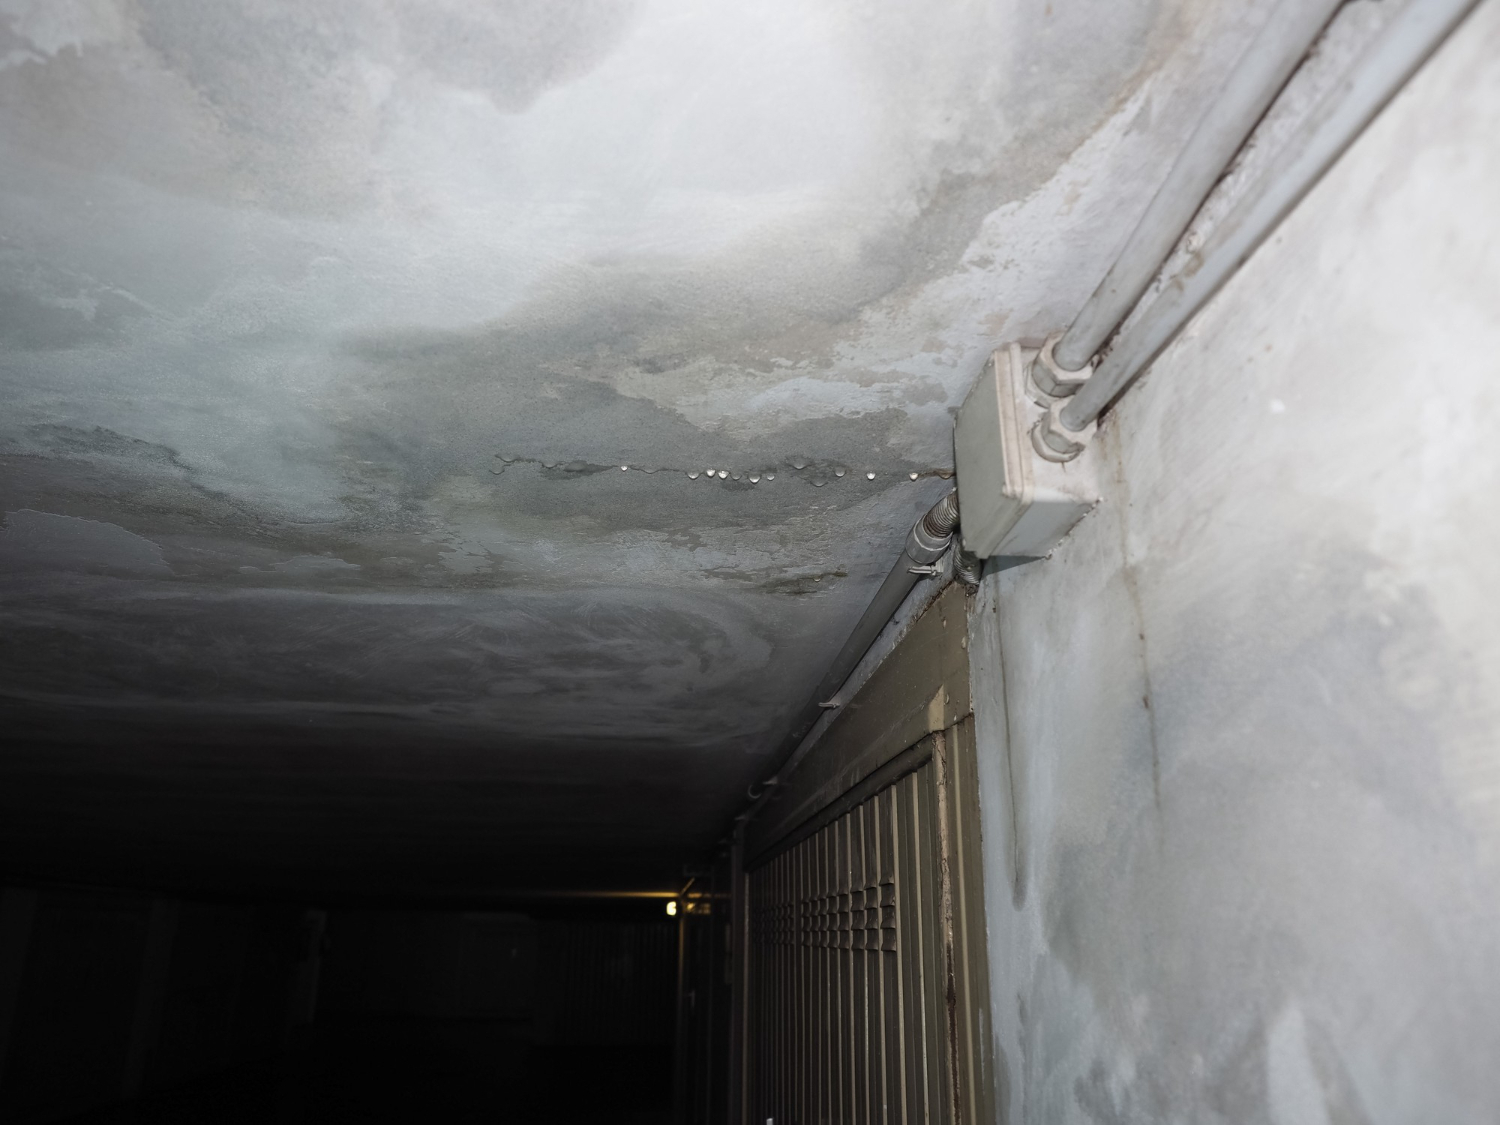
Ceiling water damage repair should begin as soon as you notice stains, sagging drywall, peeling paint, or water leaking from the ceiling. The longer moisture remains trapped inside your ceiling, the greater the risk of mold growth, structural deterioration, and expensive repairs.
According to the Insurance Information Institute (III), water damage and freezing account for nearly 24% of all homeowner insurance claims in the United States. Even a minor ceiling leak can quickly develop into a major restoration project if the source of the water is not addressed immediately.
Whether you’re dealing with ceiling damage from water, a leak in the bathroom ceiling, or water leaking from the ceiling when it rains, knowing the correct repair process can save time, money, and unnecessary stress.
Step 1: Stop the Water Source Before Repairing the Ceiling
The first step in ceiling water damage repair is identifying and stopping the leak.
Repairing drywall without fixing the water source only guarantees the damage will return.
Common causes include:
- Roof leaks after heavy rain
- Burst or leaking plumbing pipes
- HVAC condensation leaks
- Overflowing bathrooms or tubs
- Second-story appliance leaks
- Leaking apartment ceilings caused by neighboring units
If you notice water leaking from the ceiling when it rains, the issue is often damaged roofing materials, flashing, or clogged gutters. On the other hand, a leak in the bathroom ceiling is usually connected to plumbing fixtures or drain lines.
Pro Tip: Turn off the water supply if a plumbing leak is suspected and place a bucket beneath active drips to minimize additional damage.
Step 2: Remove Wet Ceiling Materials
Water-soaked drywall loses structural strength and should be removed if it cannot fully dry.
After locating the leak:
- Inspect the damaged area for sagging drywall.
- Remove loose paint, wet insulation, or crumbling drywall.
- Check for mold growth behind the ceiling.
- Dispose of materials that cannot be salvaged.
If the ceiling feels soft or begins bowing downward, avoid standing underneath it. Saturated drywall can collapse unexpectedly.
Professionals also use moisture meters and infrared cameras to detect hidden moisture that cannot be seen with the naked eye.
Step 3: Completely Dry the Ceiling Before Making Repairs
A dry ceiling is essential for a lasting repair.
One of the biggest mistakes homeowners make when fixing water damage to a ceiling is repairing it before it has completely dried.
Proper drying may involve:
- Air movers to circulate air
- Commercial dehumidifiers to remove moisture
- Ventilation to speed evaporation
- Moisture testing before repairs begin
Depending on the extent of the damage, drying can take anywhere from 24 hours to several days.
Skipping this step significantly increases the likelihood of mold growth and recurring damage.
Step 4: Repair the Damaged Ceiling
The repair method depends entirely on how severe the ceiling damage is.
Small Water Damage
If the stain is isolated and the drywall remains structurally sound, you can often complete a DIY repair using:
- Joint compound
- Drywall patch kits
- Sandpaper
- Primer
- Ceiling paint
Apply joint compound in thin layers, allow each layer to dry completely, sand smooth, then prime before painting.
Moderate Damage
If drywall sections have softened but the framing remains intact, replacing the damaged drywall section usually provides the best long-term solution.
Severe Damage
Extensive ceiling damage from water often affects insulation, framing, electrical wiring, and adjacent rooms.
Professional restoration companies can:
- Replace damaged drywall
- Dry hidden structural components
- Remove mold safely
- Restore insulation
- Ensure repairs meet building standards
Large water losses should never be treated as cosmetic repairs alone.
Step 5: Prime, Paint, and Prevent Future Damage
Finishing the repair correctly prevents stains from returning.
Water stains can bleed through fresh paint unless they’re sealed first.
For professional-looking results:
- Apply a stain-blocking primer.
- Paint the repaired section.
- Blend into the surrounding ceiling if needed.
- Inspect annually for new signs of moisture.
Preventive maintenance also helps reduce future repairs.
Consider:
- Cleaning gutters regularly
- Inspecting roofing after storms
- Checking plumbing connections annually
- Monitoring attic humidity
- Repairing small leaks immediately
Preventive maintenance costs far less than major restoration.
Can You Repair a Water Damaged Ceiling Yourself?
Yes, but only if the damage is minor and the source of the leak has already been repaired.
DIY repairs work best when:
- The stain is small
- Drywall remains solid
- No mold is present
- The leak has completely stopped
Professional restoration is recommended when:
- The ceiling is sagging
- Water affects multiple rooms
- Electrical systems may be involved
- Mold is visible
- The ceiling continues leaking
Attempting major repairs without proper drying equipment often leads to recurring problems that become far more expensive.
Water Damage Ceiling Repair Cost
One of the most common homeowner questions is:
How much does ceiling water damage repair cost?
Actual costs depend on:
- Size of the damaged area
- Type of ceiling material
- Source of the leak
- Mold remediation requirements
- Structural repairs needed
Minor cosmetic repairs generally cost significantly less than full ceiling replacements involving insulation, framing, or mold remediation.
The best way to control costs is addressing leaks immediately before they spread.
Why Professional Water Damage Restoration Makes a Difference
Professional restoration companies do much more than replace drywall.
Experienced technicians identify hidden moisture, prevent mold growth, restore structural integrity, and ensure the problem does not return.
At Lightning Restoration of Tampa, Florida, our team uses advanced moisture detection equipment, commercial drying systems, and proven restoration methods to repair damaged ceilings quickly and safely.
Whether you’re dealing with a leaking apartment ceiling, storm damage, plumbing failures, or a persistent water leaking from the ceiling, we help restore your property with minimal disruption.
Frequently Asked Questions
1. What causes water leaking from the ceiling?
The most common causes include roof leaks, burst pipes, plumbing failures, HVAC condensation, overflowing fixtures, and storm damage.
2. Can a water damaged ceiling collapse?
Yes. Drywall becomes significantly weaker when saturated. If your ceiling is sagging or bulging, avoid the area and contact a restoration professional immediately.
3. How long does ceiling water damage repair take?
Minor repairs may take one to two days after drying, while extensive restoration involving structural repairs or mold remediation can take several days depending on the severity.
4. Does homeowners insurance cover ceiling water damage?
Insurance often covers sudden and accidental water damage, such as burst pipes, but may not cover damage caused by long-term neglect or deferred maintenance. Review your policy or speak with your insurance provider.
5. When should I call a professional for ceiling water damage?
Call a restoration specialist if the leak is ongoing, the ceiling is sagging, mold is present, electrical systems are affected, or the damaged area is larger than a small cosmetic stain.
Final Thoughts
Ceiling water damage repair is most successful when you act quickly, stop the leak, dry the affected materials completely, and repair the ceiling using the correct restoration methods.
Small stains may be manageable with DIY repairs, but widespread ceiling water damage, structural deterioration, or recurring leaks require professional water damage restoration to prevent long-term damage.
If you’ve discovered ceiling damage from water, don’t wait until the problem spreads. Contact Lightning Restoration of Tampa, Florida today for a professional inspection and expert ceiling water damage repair that protects your home and your peace of mind.