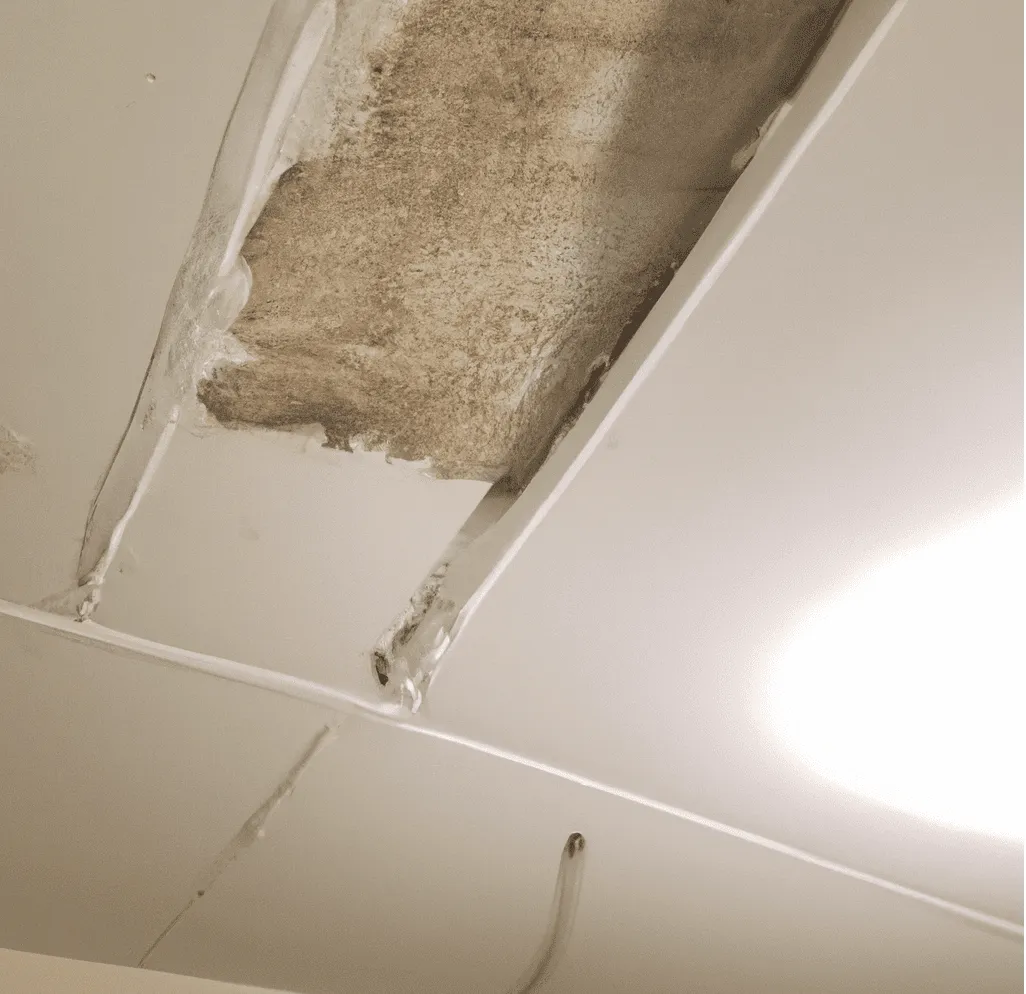
5 Failsafe Ways to Repair Water Damaged Ceilings

Waking up to a water damaged ceiling is every homeowner’s nightmare. Not only is the damage unsightly, it can also lead to serious issues like mold growth and structural damage. The good news is that there are a few different ways to repair water damaged ceilings, and we’re here to tell you all about them! Continue reading to learn the best ways to fix your Ceiling, so you can rest easy knowing your home is in good hands.
IF THE DAMAGE IS SMALL AND LOCALIZED, YOU CAN TRY TO REPAIR IT YOURSELF WITH A PATCH KIT.
Repairing a water damaged ceiling doesn’t need to be a daunting task. If the damage is fairly small and localized, you can take care of it yourself by purchasing a patch kit. These kits contain all the necessary supplies like plaster and putty knife to help conceal the evidence and leave your ceiling looking as good as new. Repairing the damage on your own also eliminates any additional stress that comes with hiring a professional for this type of job. Depending on the size of the repair and if it requires more than just plaster, however, calling in an expert may be worth considering.
FOR BIGGER OR MORE WIDESPREAD DAMAGE, YOU’LL NEED TO CALL IN A PROFESSIONAL.
When water damage from a leaking pipe or burst ceiling develops to a certain size and spreads, it’s time to leave the repair work to the professionals. Trying to tackle extensive damage alone can open you up to potential structural issues in your home, as well as further issues with mold growth. Call in water damage restoration experts in Tampa who will conduct an inspection of the area and provide effective, comprehensive repairs that ensure it is handled appropriately and effectively. It may be slightly more costly, but it’ll be worth it in the long run!
REMOVE ANY WET OR DAMAGED MATERIAL FROM THE CEILING
After water damage has been identified in the ceiling, the initial step is to rid the area of any and all wet or damaged material. This should be done carefully, as certain materials can be brittle or flimsy when wet. It is essential to begin the repair process by first clearing those affected and contaminated pieces from the ceiling; afterwards, you can assess which further steps are necessary for a complete repair. Careful removal of these damaged parts can minimize cost and time spent on further repairs and replacements, so it’s important that this initial step is not overlooked.
ONCE THE AREA IS DRY, YOU CAN START REPAIRING ANY CRACKS OR HOLES WITH PLASTER OR JOINT COMPOUND.
The tricky part about repairing water damaged ceilings is drying the area before you begin repairs. A good way to do this is by connecting a fan to the ceiling and allowing it to run until the portion of the ceiling is dry. Once you’re sure the area is dry, you can start filling any cracks or holes with plaster or joint compound. This will help ensure that further water damage doesn’t occur in the future while also making the ceiling look as good as new.
FINALLY, REPAINT THE CEILING TO MATCH THE REST OF YOUR WALLS AND HIDE ANY EVIDENCE OF DAMAGE!
Now that you’ve followed the necessary steps for repairing your water damaged ceiling, it is time to repaint it to match the rest of your walls. Depending on the type of paint used in the rest of your house, you may need to purchase a specific kind of paint to best adhere to your ceiling and hide any remaining evidence of water damage. You will want to make sure you take safety precautions when painting with ladders or scaffolding, as this is a prime opportunity for injury. Also, do not forget to protect furniture and flooring; drop cloths can save you from long-term cleaning solutions down the line! With patience and dedication, you can have a restored ceiling that will last you many years into the future.
If you need help with repairs or have any questions, please don’t hesitate to contact us. We’re here to help!
